To pass the time while the layout has been sitting (and while the mud is drying) I’ve been building stuff again.
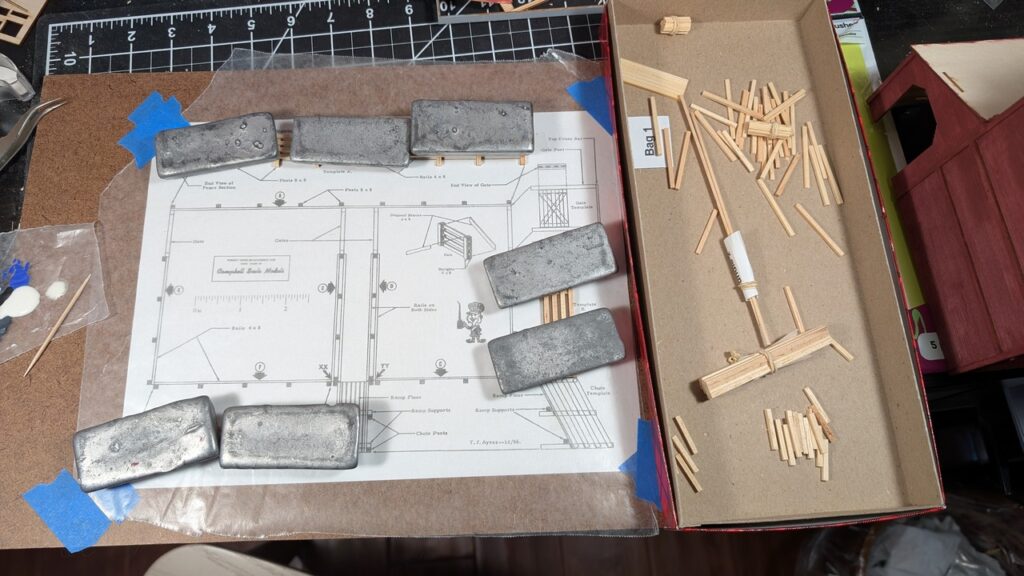
I bought the Campbell stock loading pen kit a while ago and decided it would go well on the second section of the layout. I like to refer Campbell kits as “boxes of sticks” and that is what this kit really is.