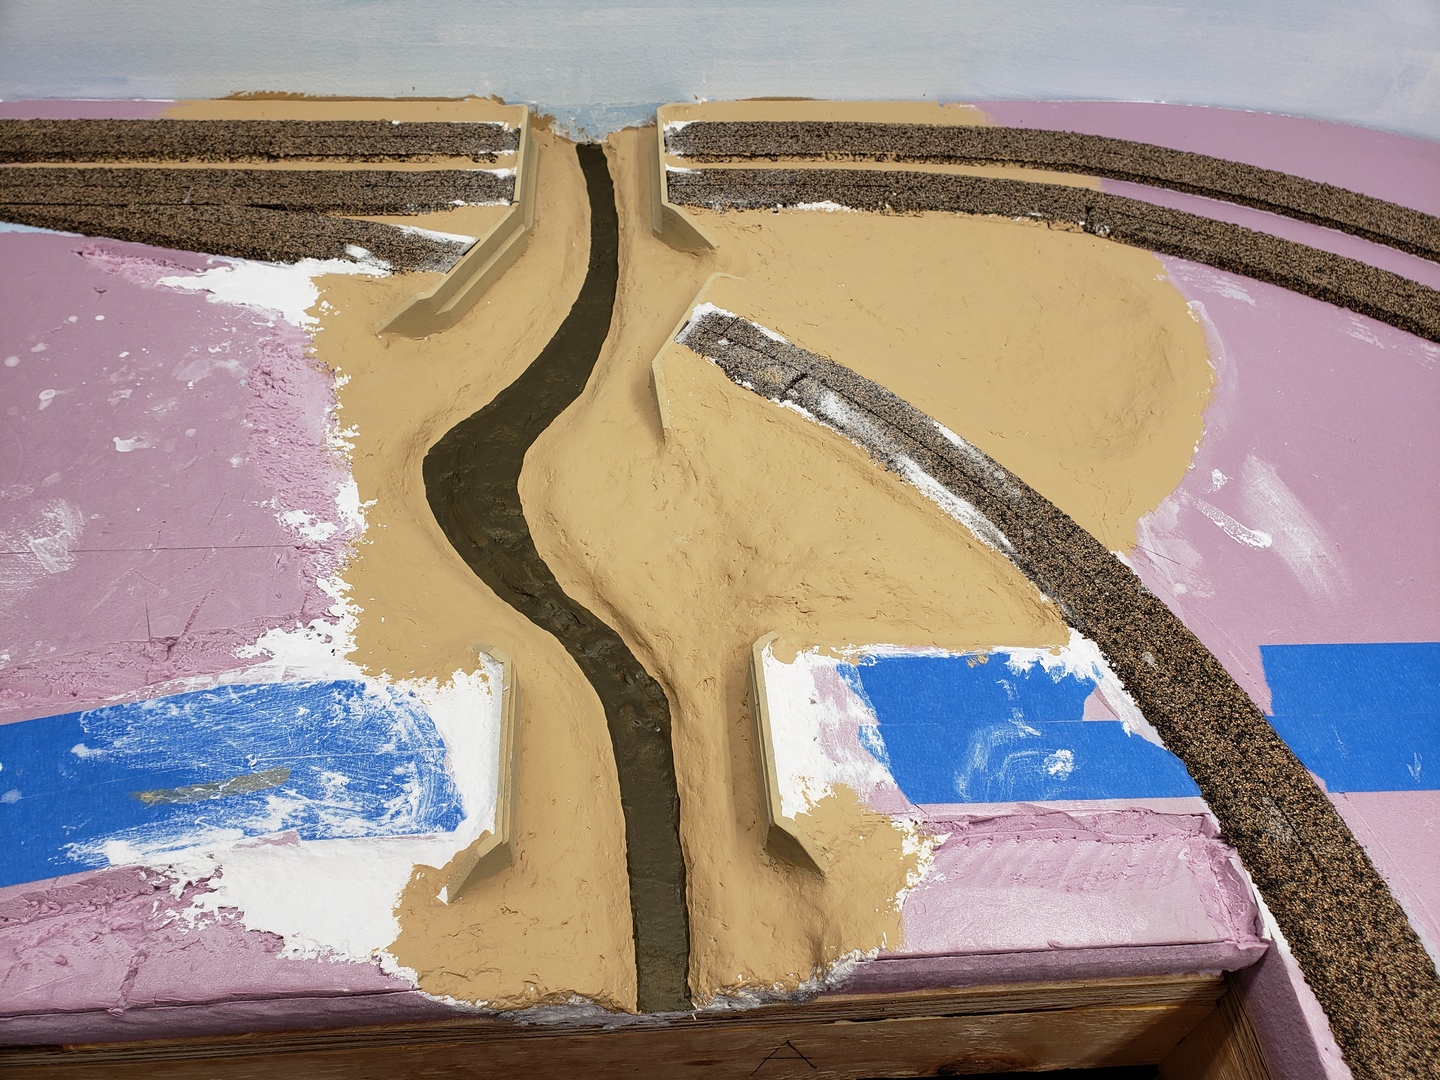
In the last installment about Lutgens Creek I had created the creek bed and painted it tan. The next step was to paint the bottom of the creek bed a darker color and then shade the sides a little.
I had some greenish brown paint (named Chocolate Cupcake, but if my cupcake was that color I wouldn’t eat it) left over from another project and I thought it would do, so I painted a stripe down the creek bed.
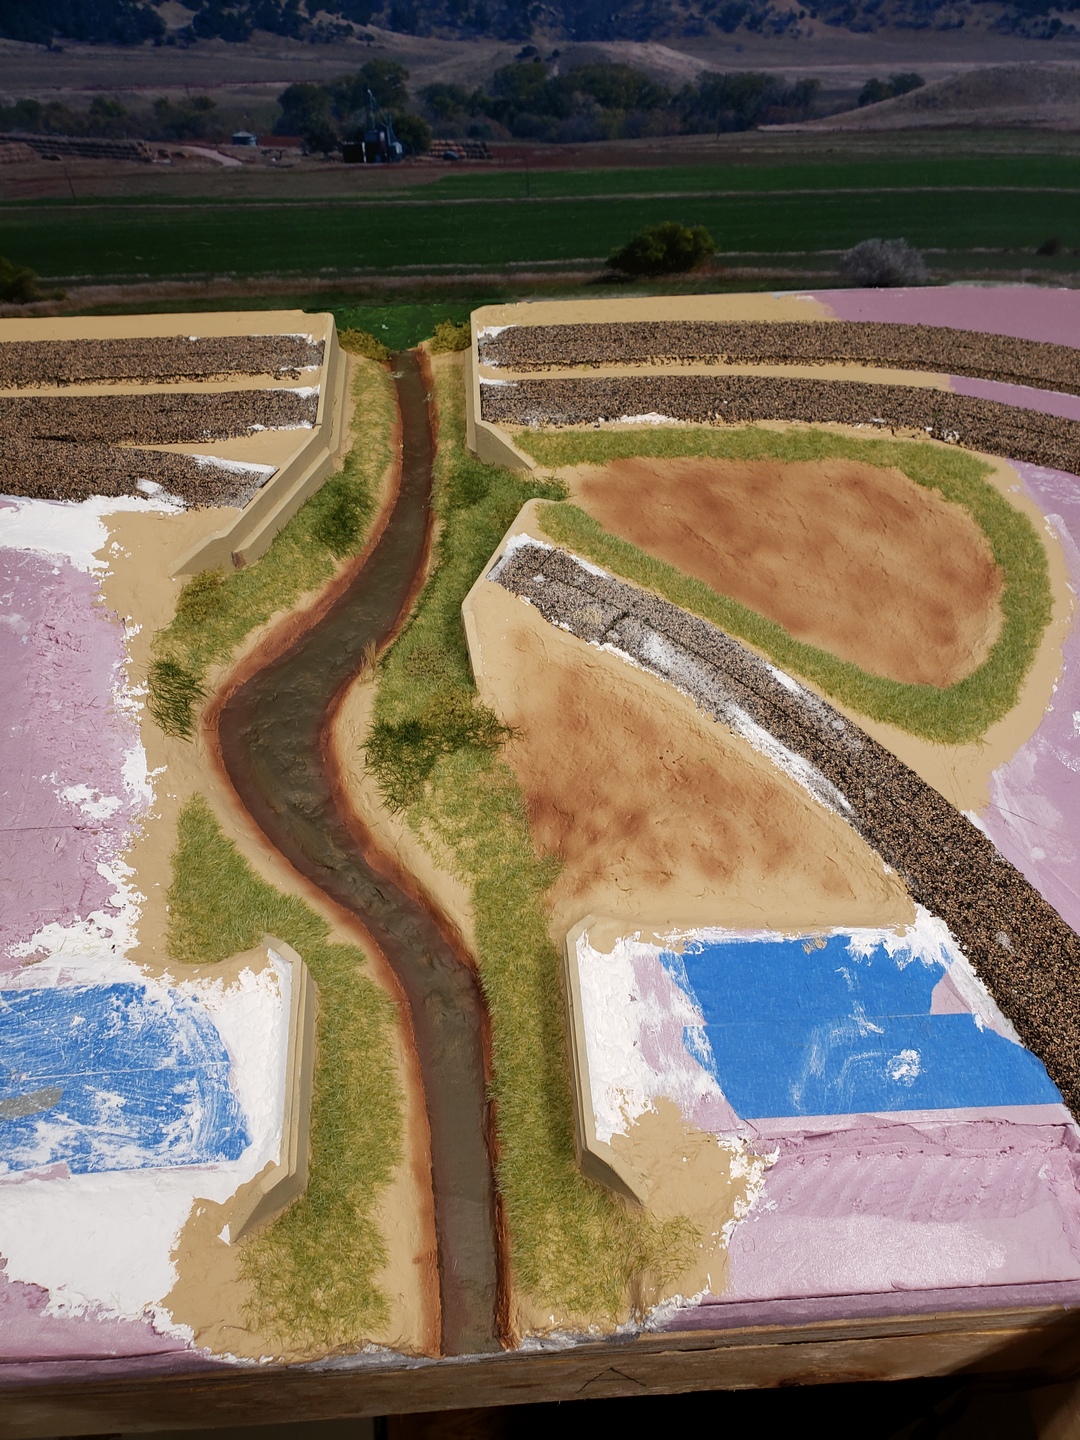
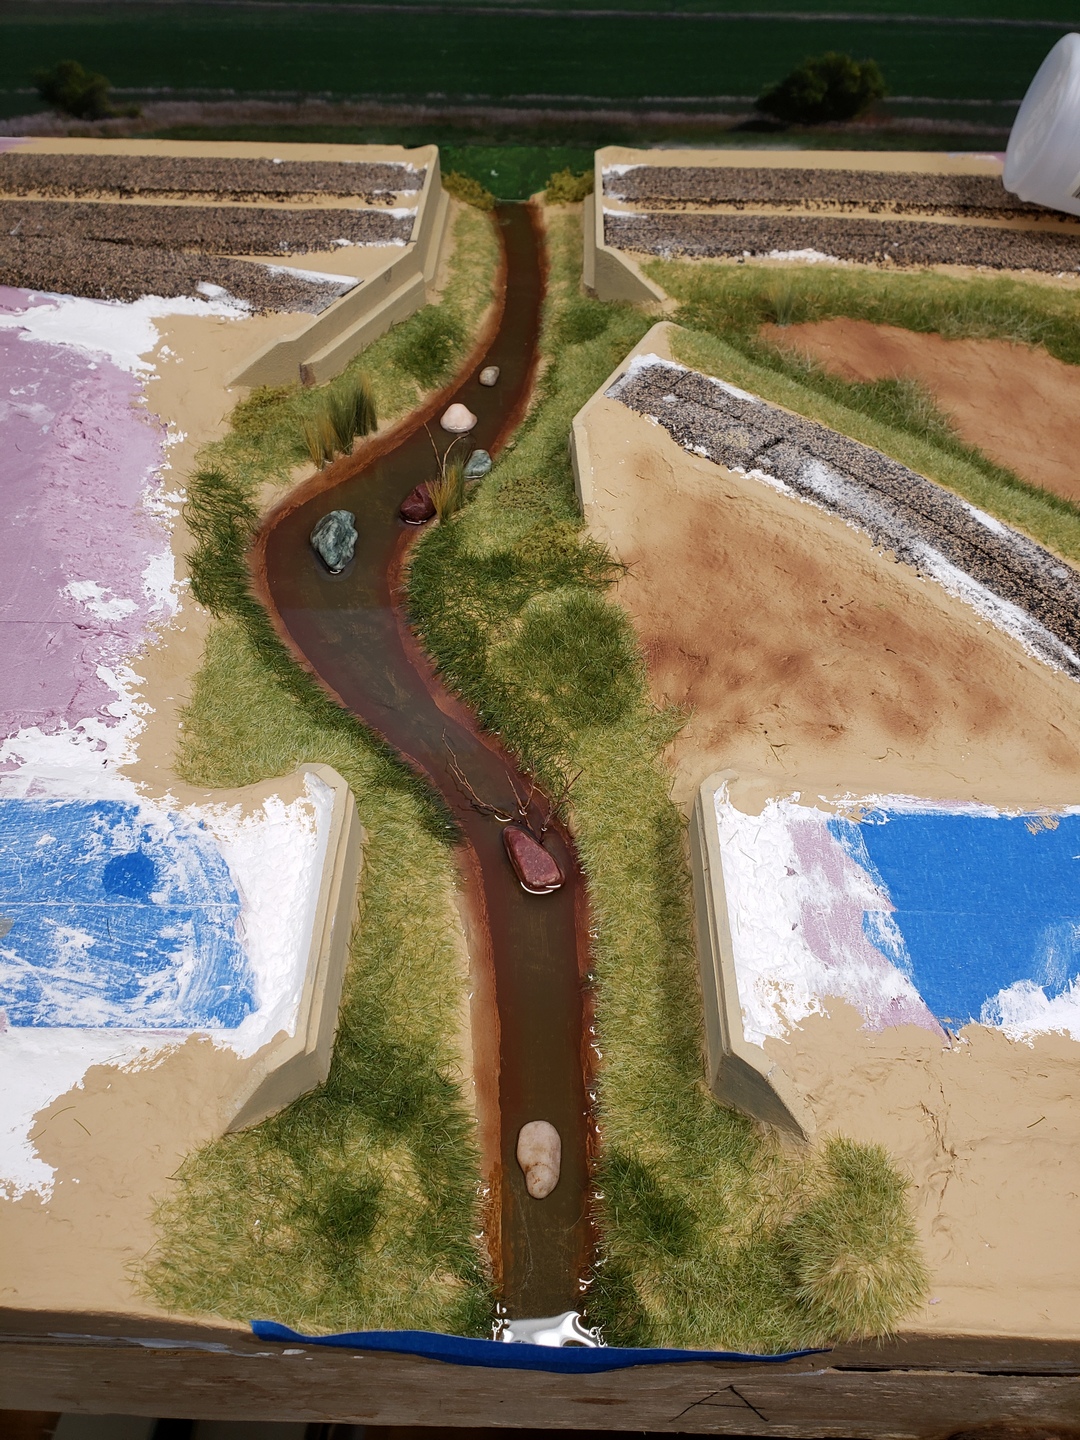
The next step was to shade the sides with some medium brown paint and the airbrush. I don’t have a photo of that, but you can see it in the following photos. I also started putting down a bunch of static grass and brush, but I don’t have a lot of in-process photos.
Here’s one anyway.
And another lower down view.
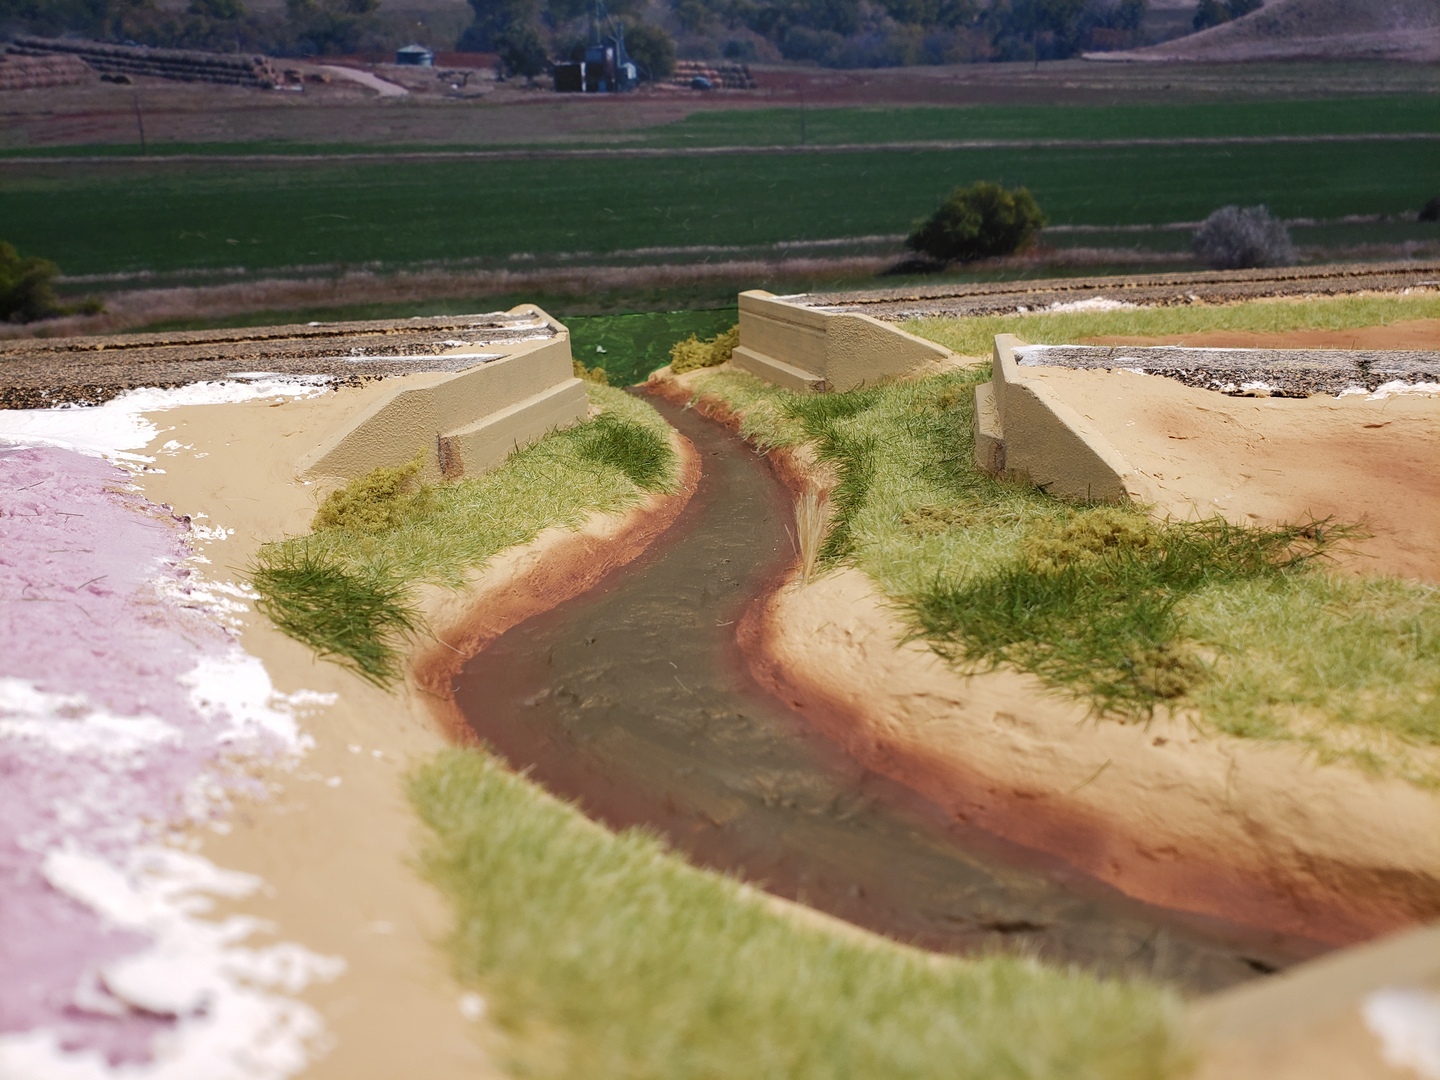
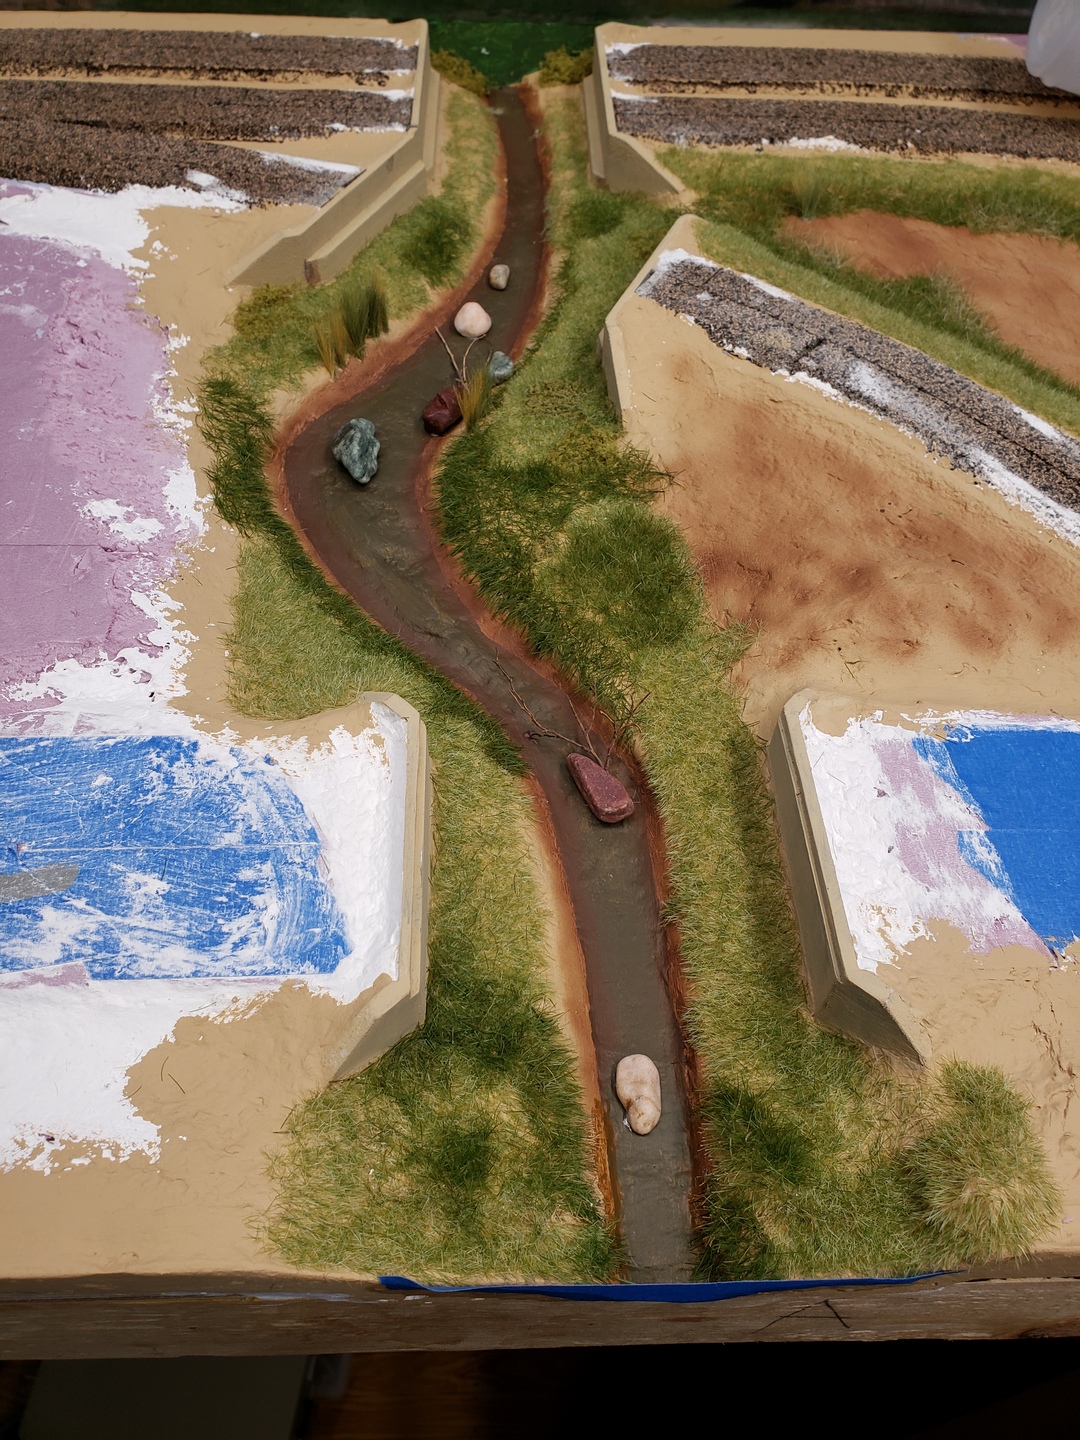
I added a bunch more grass and vegetation of various varieties.
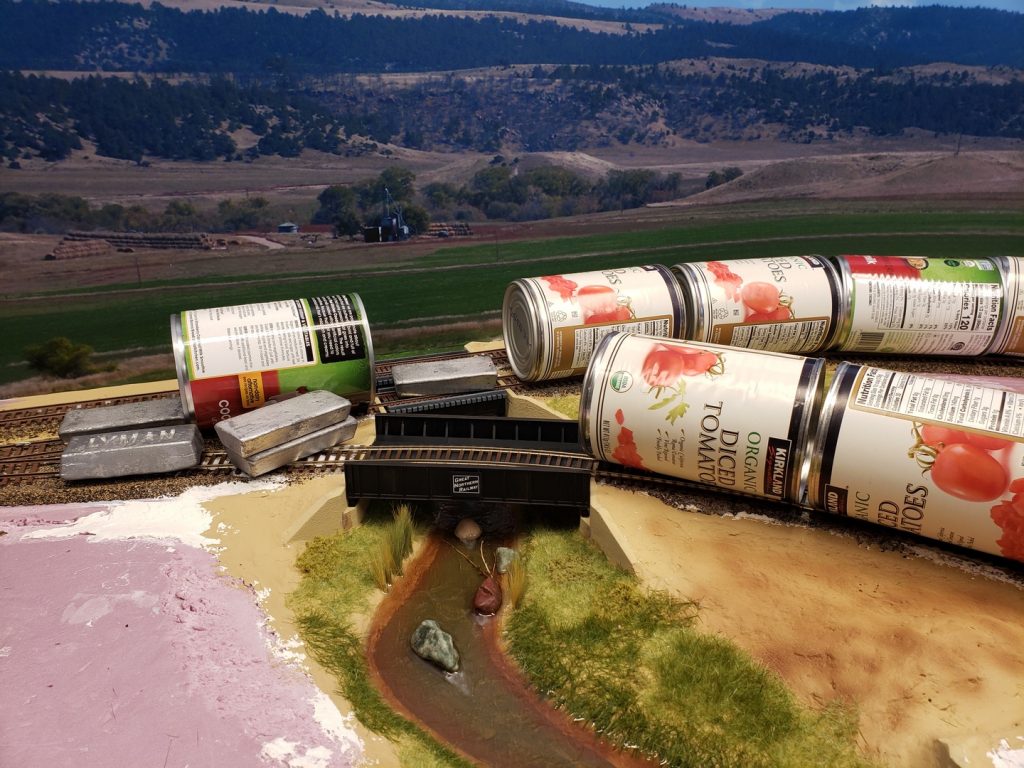
I decided the creek needed some boulders and some driftwood. I found some dead plants on a walk around the building at work that looked like dead trees, so I used those.
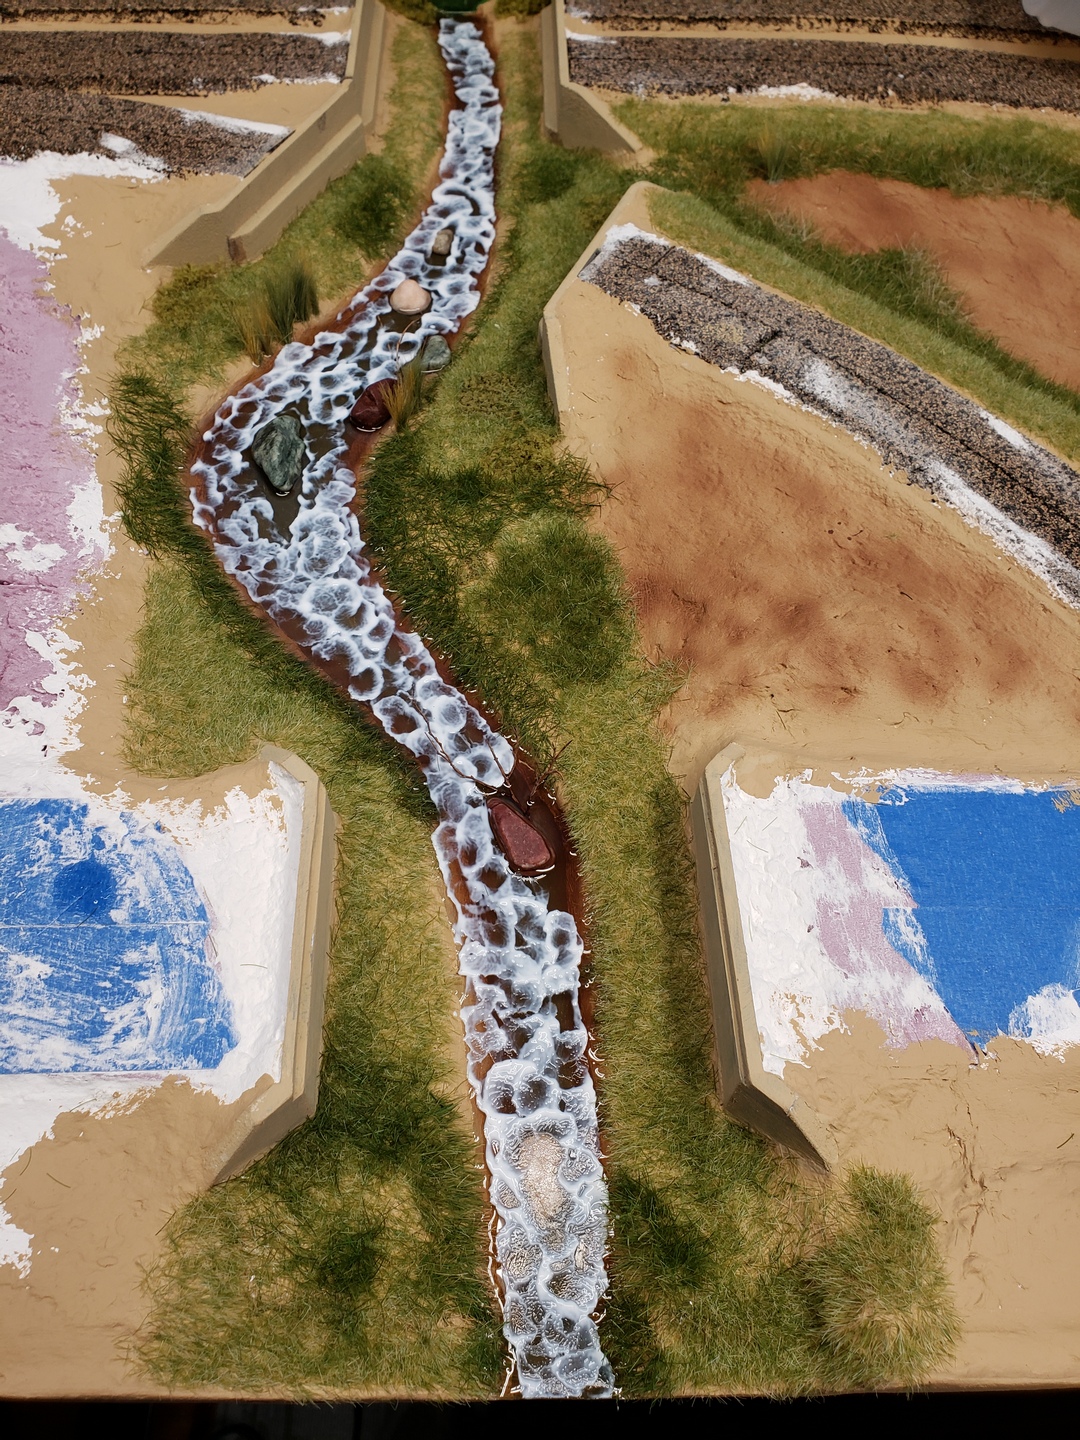
Once I was satisfied with the creek bed, I mixed up some Envriotex and poured the water.
After letting it set for a couple of days, I used some gloss Mod Podge and my air brush to add some ripples to the surface. This is a tip I got from a Luke Towan video.
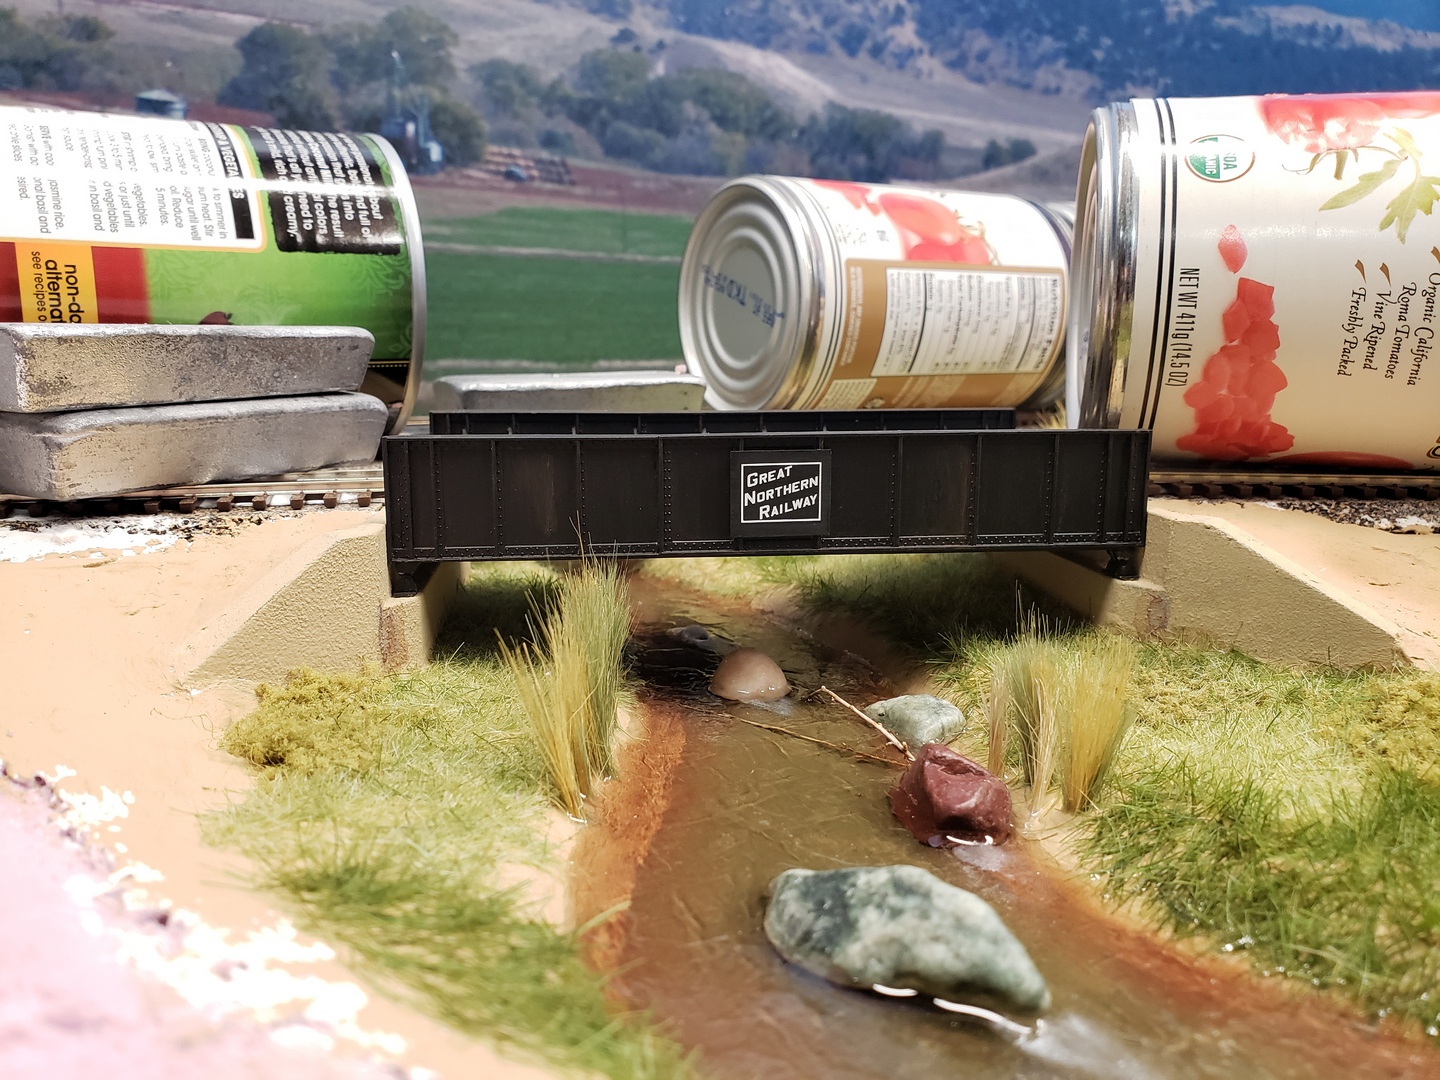
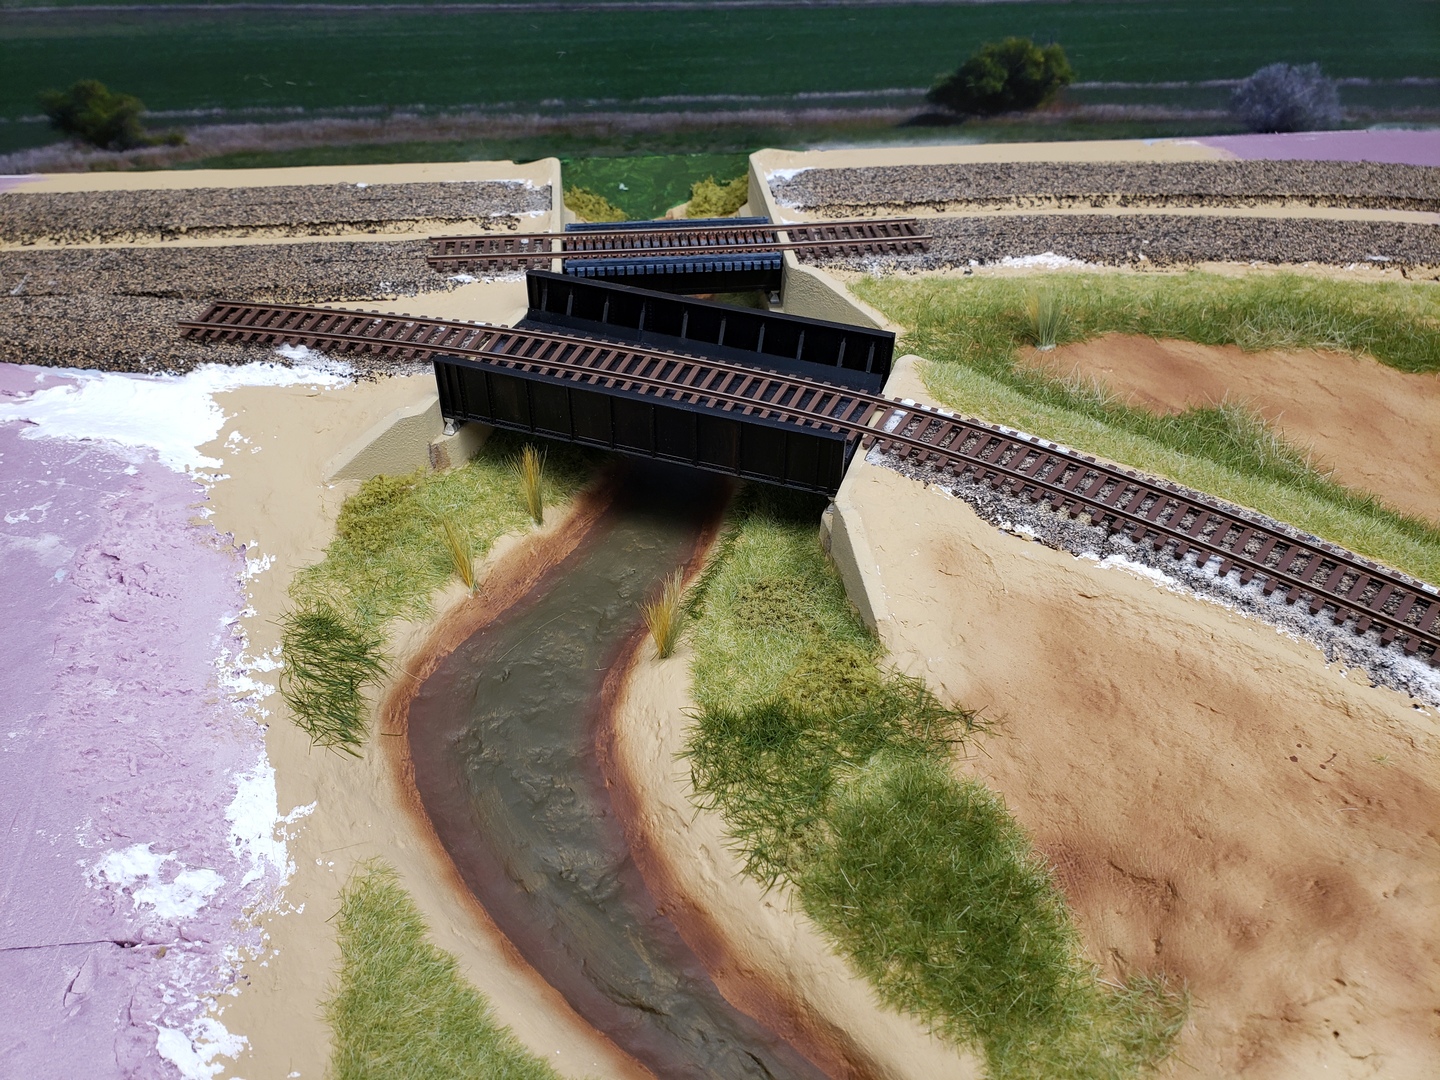
Once the Mod Podge dried it was time to start laying track again! The bridges were all ready, so I started at the back with the main line. I used Elmer’s glue to glue down the track and canned goods to hold the track while the glue dried.
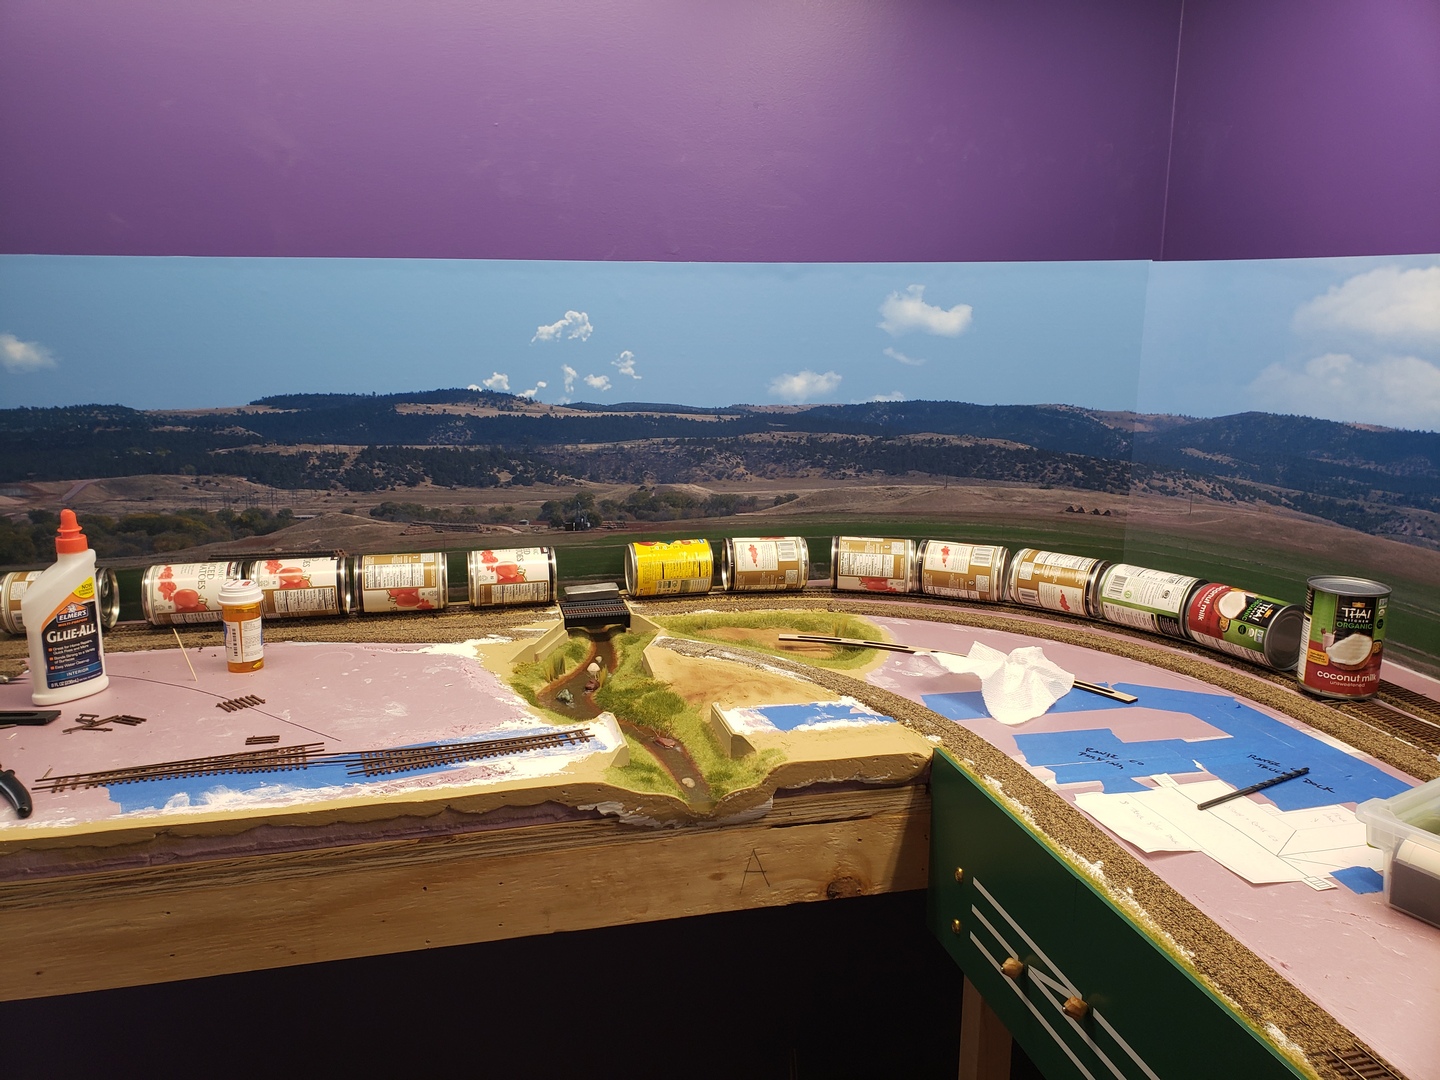
The next day I got the two spurs glued down.
I still have to add the wiring, install the turnouts and controls and some other things, but now the main track work is almost done. Exciting!
Here’s a last shot of the creek and bridge. I’m pleased with how it turned out.