I have this 1980’s vintage Tenshodo model of a GN Consolidation. It’s a pretty nice looking model so a while ago I replaced the motor and installed a Soundtraxx DCC decoder. But it never really ran very well.
A couple of weeks ago I took it apart and ran some tests. I was thinking that the motor was pulling too many amps and that was the problem, but I tested it and it never pulled more than 500 milliamps, so that wasn’t it. So I started looking at other things.
I decided that the electrical pickup on the tender was probably the issue. I had added wipers to the trucks that came with it, but the electrical path was pretty crappy. And the trucks rolled like crap. Lots of friction.
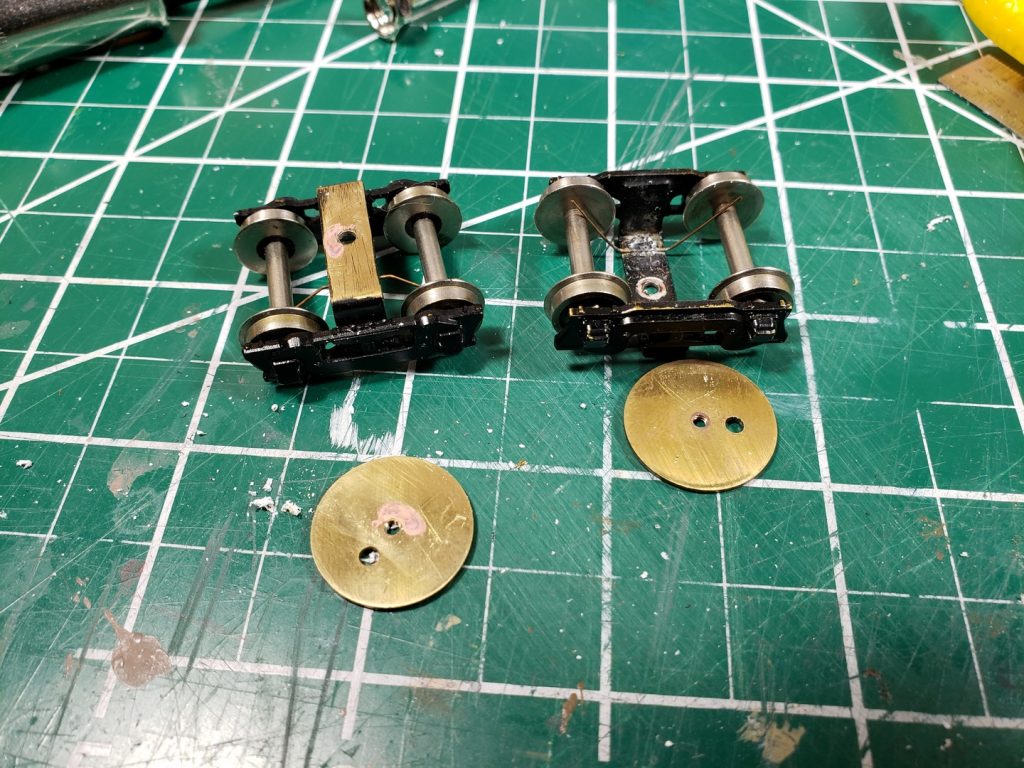
So I decided I’d replace the trucks and redo the pickups. But what trucks to use? The ones that came with the model were a Commonwealth style truck, and the photos I was looking at showed the same. But try and find a reasonable Commonwealth tender truck out there…
After looking around for a while I looked over at the Bachmann GN Consolidation I had. It’s a cheap, not very accurate model that I bought a long time ago. It was never going to run on the layout. But it had the correct trucks on the tender!
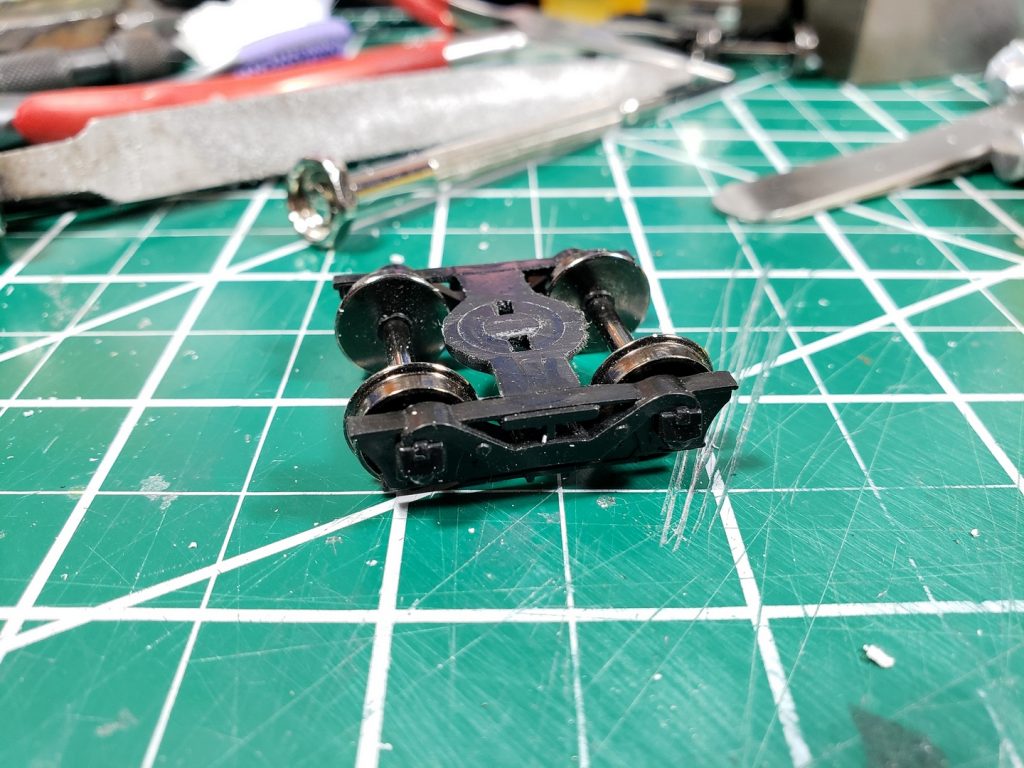
So, even though they were the snap-in type trucks I decided to use them. I cut off the snap-in part and drilled a hole in them for a screw. Then I had to make some bolsters for the tender, so I glued up some styrene strips and epoxyed them into place.
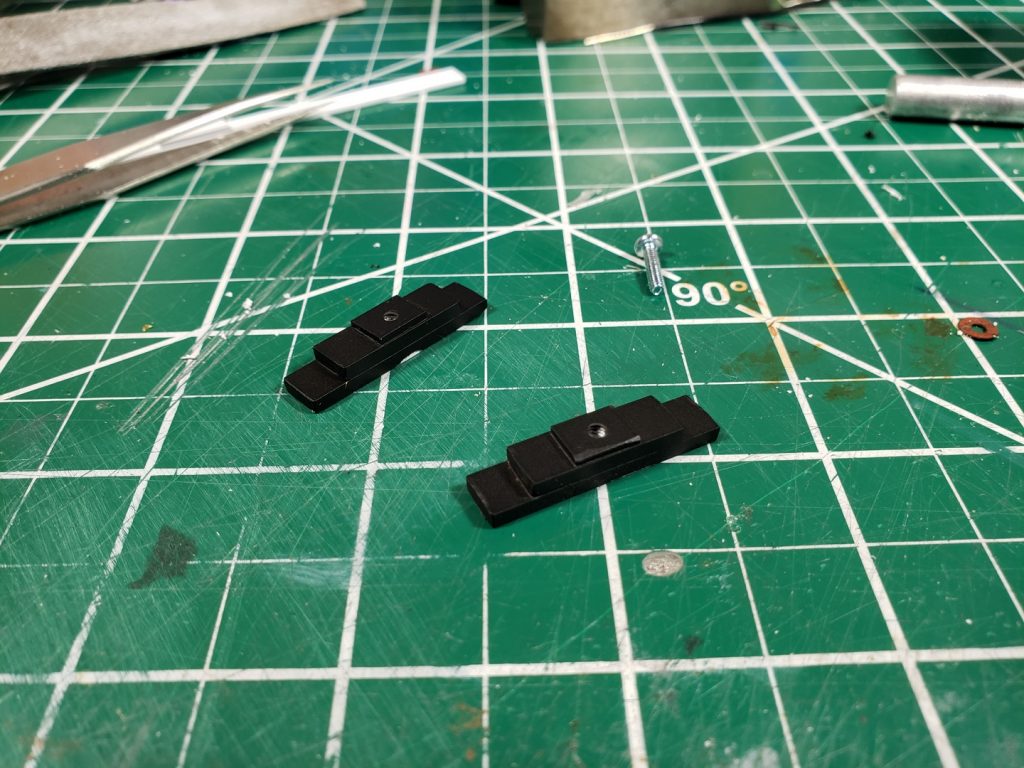
I centered them on the existing truck mounting holes.
Next was the electrical pickup. I have a bunch of InterMountain metal wheel sets and I saw in this forum post about using brass tubing for pickups so I decided to try it.
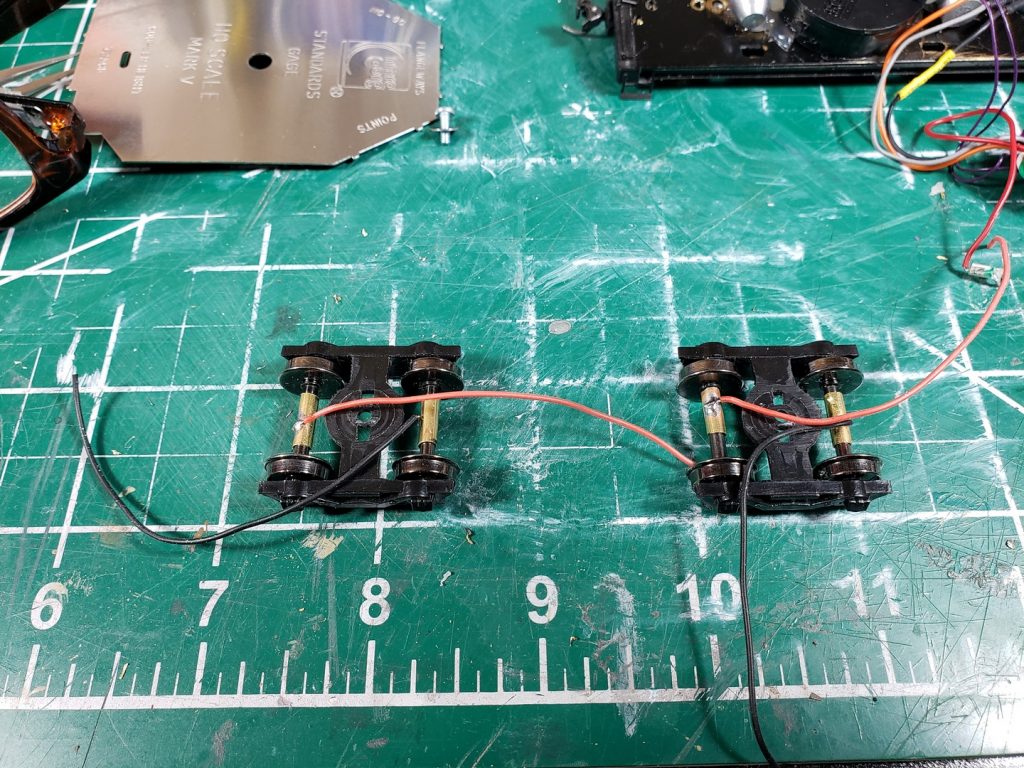
I ended up having all the electrical pickup in the tender trucks. I was going to use the locomotive wheels for one side, but I forgot to connect the wire.
I put it all together, but it still didn’t work very well – it kept cutting out. So I cleaned the wheels and axles with mineral spirits and pinched the tubes a little bit to get better contact. It improved but it was still cutting out.
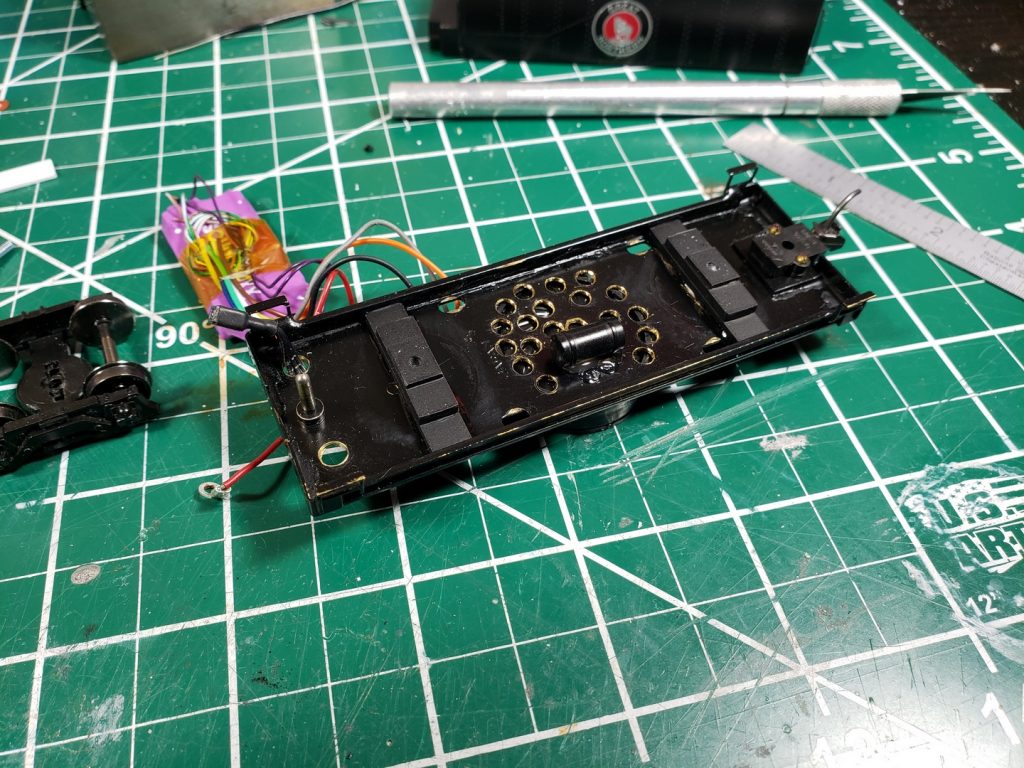
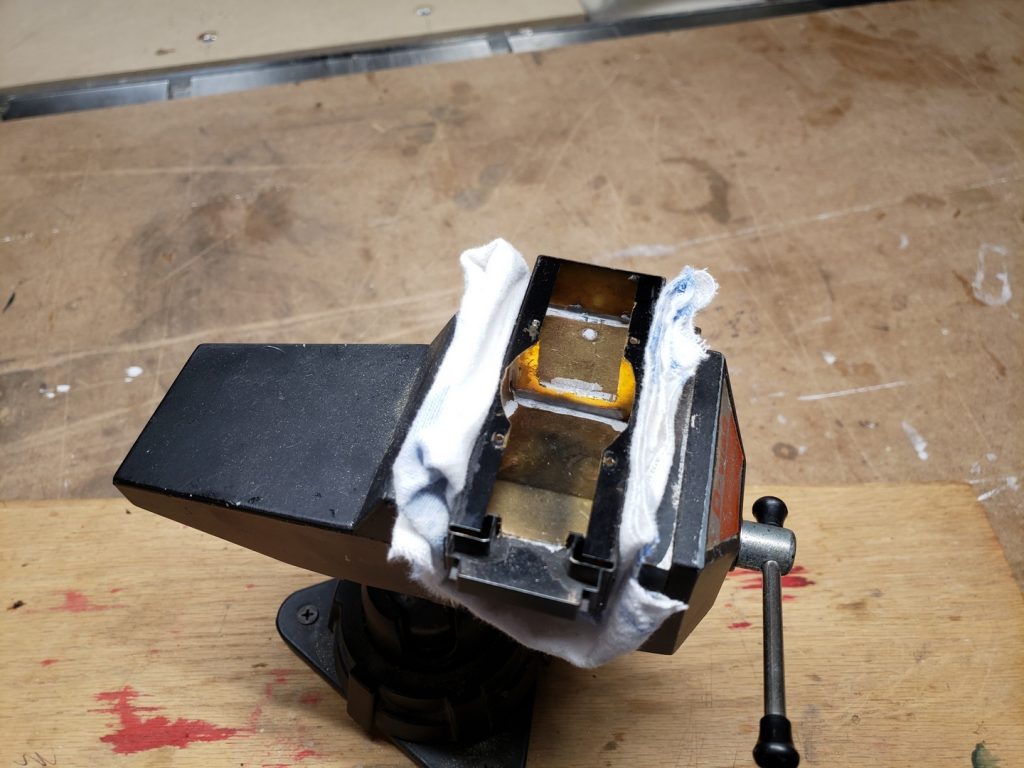
But, in anticipation of this project I had purchased a CurrentKeeper to install. I needed to make some more room in the tender to mount the CurrentKeeper so out came the Dremel.
Before:
After:
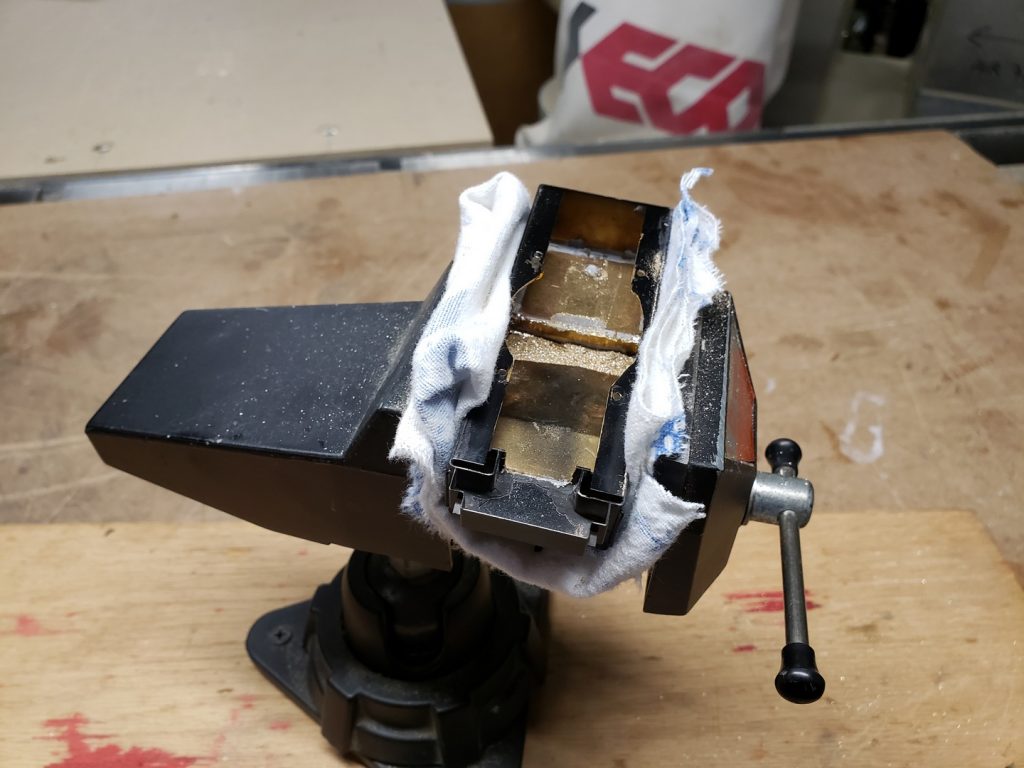
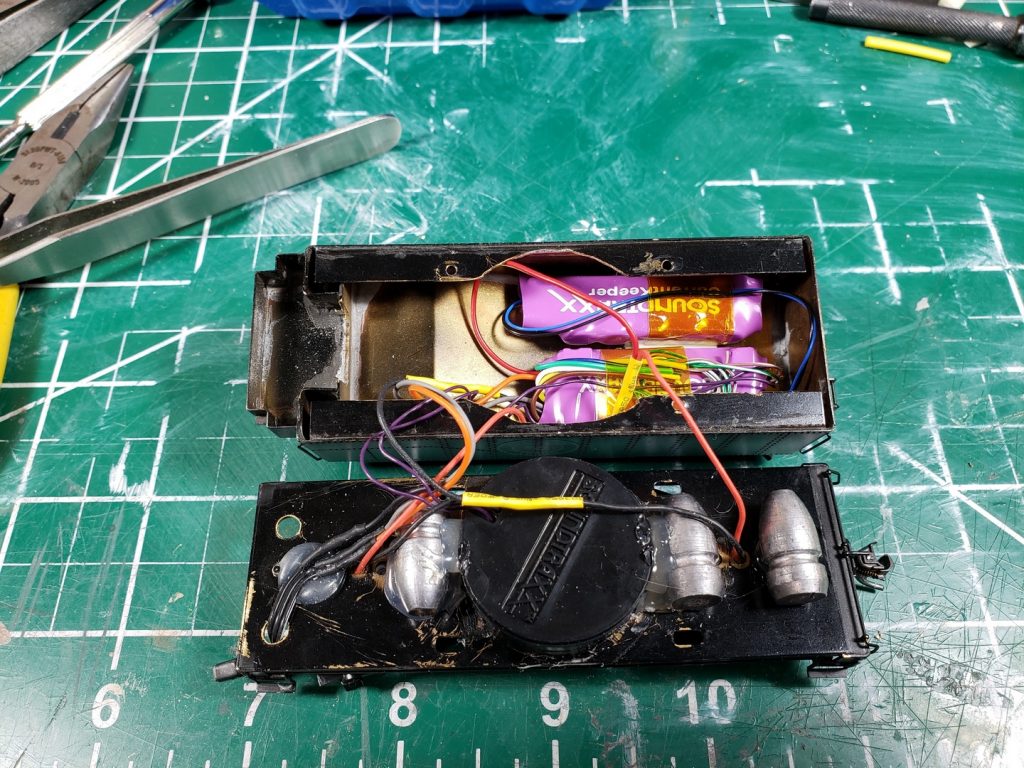
Lots more room. After installing the DCC decoder and the CurrentKeeper it looked like this:
And this is how it performs now:
I’m pretty happy with it now.
The next tweak will be to install a working coupler on the front. It’s supposed to be a switcher so it needs to be able to couple up on both ends. It’s not a simple task though.
